How to create an Input Flow in WhatzBot

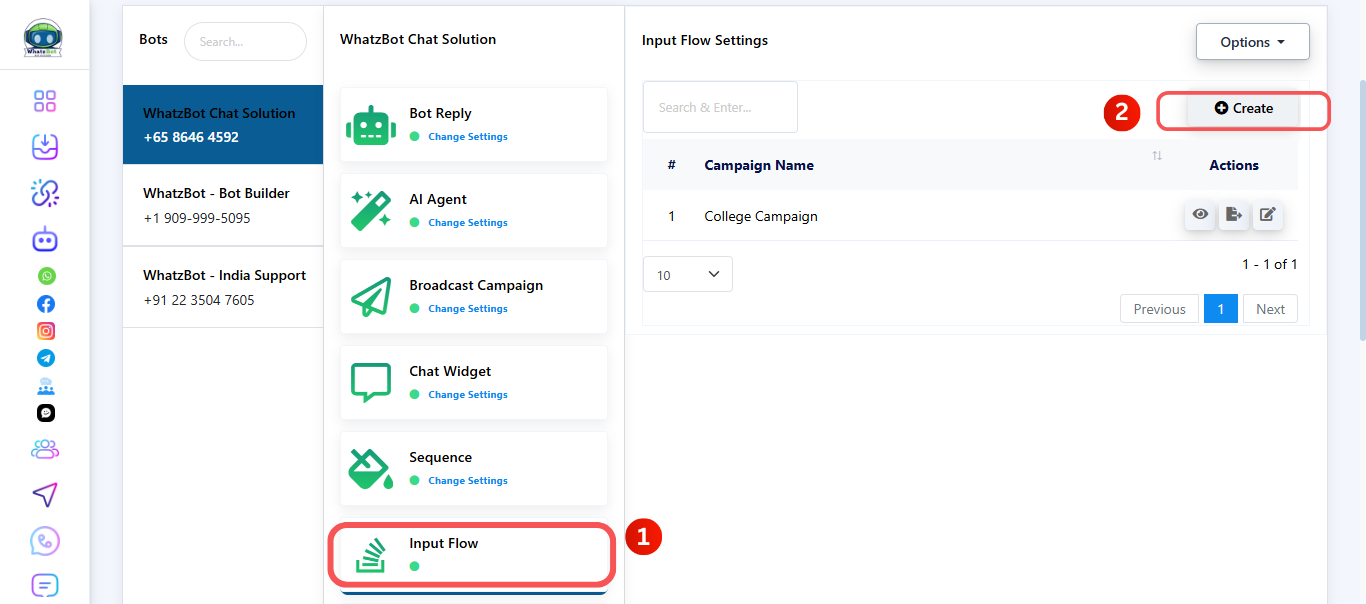
The User Input Flow in WhatzBot helps you to make an input flow for your WhatsApp which you can use later on in your Bot. In this panel you can edit your input flow and also export your flow data.


Step 1: Go to Input Flow

  • Login to your WhatzBot dashboard.
  • On the sidebar, click on Chatbot Manager > WhatsApp Bot.
  • In WhatzBot scroll down and look for Input Flow.

Step 2: Start a new Input Flow

  • Click the Create button at the top of the page.
  • A Input Flow setup panel will open where you can configure the input flow details.


Step 3: Set up basic bot flow information

  • Write down the keywords for which the bot will be triggered: You can give the words you want by which the message will be triggered.
  • Send reply based on your matching type: In this you have two options:
  • Title: Give the bot the name you desire.
  • Add labels: You can add the labels here that you had created earlier.
  • Remove labels: Here you can remove the labels that you added in the earlier context.
  • Subscribe to sequence: You can give a sequence for how your messages will be sent. Here you can use the sequences you created earlier or create a new sequence.
  • Unsubscribe from sequence: Here you can select a sequence that you want to unsubscribe from.
  • Save to system field: Here the data will be stored in the system’s field.
  • Assign Conversation to a group: Through this you can assign this conversation to a group of your company.
  • Assign conversation to a user: Through this you can assign the conversation to a particular user you wish to.
  • Send data to Webhook URL: Here you can the Webhook URL to send the data that is received.
  • Send data to Google Sheets: Add the Google Sheets link so that you can receive the data in sheets format.

Input Reference

Step 4: Set up basic input flow information

  • User input flow: In this select "Add new input flow" as you want to create a new input flow.
  • User Input Campaign Name: Give this campaign a unique name to easily identify this campaign later.
  • Add Label(s): You can add the labels here that you had created earlier.
  • Remove Label(s): Here you can remove the labels that you added in the earlier context.
  • Send data to Webhook URL: Here you can the Webhook URL to send the data that is received.
  • Send data to Google Sheets: Add the Google Sheets link so that you can receive the data in sheets format.


Step 5: Set up basic question information

  • In this you will have two options:
    1. Free Keyboard Input: In this the user can type any answer they want.
    • Question: In this field you can add the question you want to ask to the user. The #LEAD_USER_FIRST_NAME# is used when you want to add the users name in the message, it will take the users name directly as the input.
    • Reply type: Here you can select how you want the user to reply to you.
    • Save to custom field: You can use this field so that the data can be stored in the fields you select.
    • Save to system field: Here the data will be stored in the system’s field.


    1. Multiple Choice Question: In the you can give the users the options to select to reply.
    • The other details will be the same as the above.
    • The only thing that will change is you will get:

    Multiple Choice option button label: You will have to give the Button a name.

    Options: You can give up to 9 options to select from for the user.

  • After adding the new question, you can now add a new question again or a thank you message.


Step 6: Set up the text message information

  • Here you can write the text you want to send to the user after they reply to the question send earlier.
  • Smart Delay in Reply: You can set the timing of this reply to the user in seconds, minutes and hours.
  • Later on, you can add as many text or question fields you want.


Step 7: Save the input flow

  • Click on the save button on the top right corner to save the input flow and you will see a success message.
  • Now close this window and go back to the WhatzBot Manager Page and refresh it, now you can see your created bot in the list.

Contact Our Team

If you still can't find an answer to what you're looking for, or you have a specific question, open a new ticket and we'd be happy to help!

Contact Us